Being able to adjust your chain is a key skill that every motorcyclist should possess. However, it’s not uncommon for people to get into riding, and simply neglect to learn how to complete this important task. In fact, we’ve heard of experienced riders who taught themselves all sorts of wacky chain management techniques! If you’re not sure how to properly adjust your chain, don’t worry – you’re not alone.
That’s why our team at Tru-Tension put together this quick guide. We’ll run you through the basics of chain management, what to look out for, what tools you’ll need and how to correct any issues that might arise with your motorcycle’s chain.
What Can Happen if You Don’t Adjust Your Chain?
It’s easy to think ‘it’s working fine, leave it well alone’. The old adage of ‘if it ain’t broke, don’t fix it’ definitely does not apply here! A neglected chain, unfortunately, doesn’t quite cut it, and can result in worse performance or injury (sometimes quite serious). A loose chain could jump off the sprocket, get tied up and throw you off your bike. It’ll also rattle around, causing damage and making a proper racket. While it’s a pretty basic bit of maintenance, adjusting your chain is very important to avoid these issues.
Tools Required to Check Your Chain
There are a few tools that we recommend to check and adjust your motorcycle’s chain. Some of them are optional, but we highly recommend following the process thoroughly!
- A torque wrench to easily loosen your axle nut.
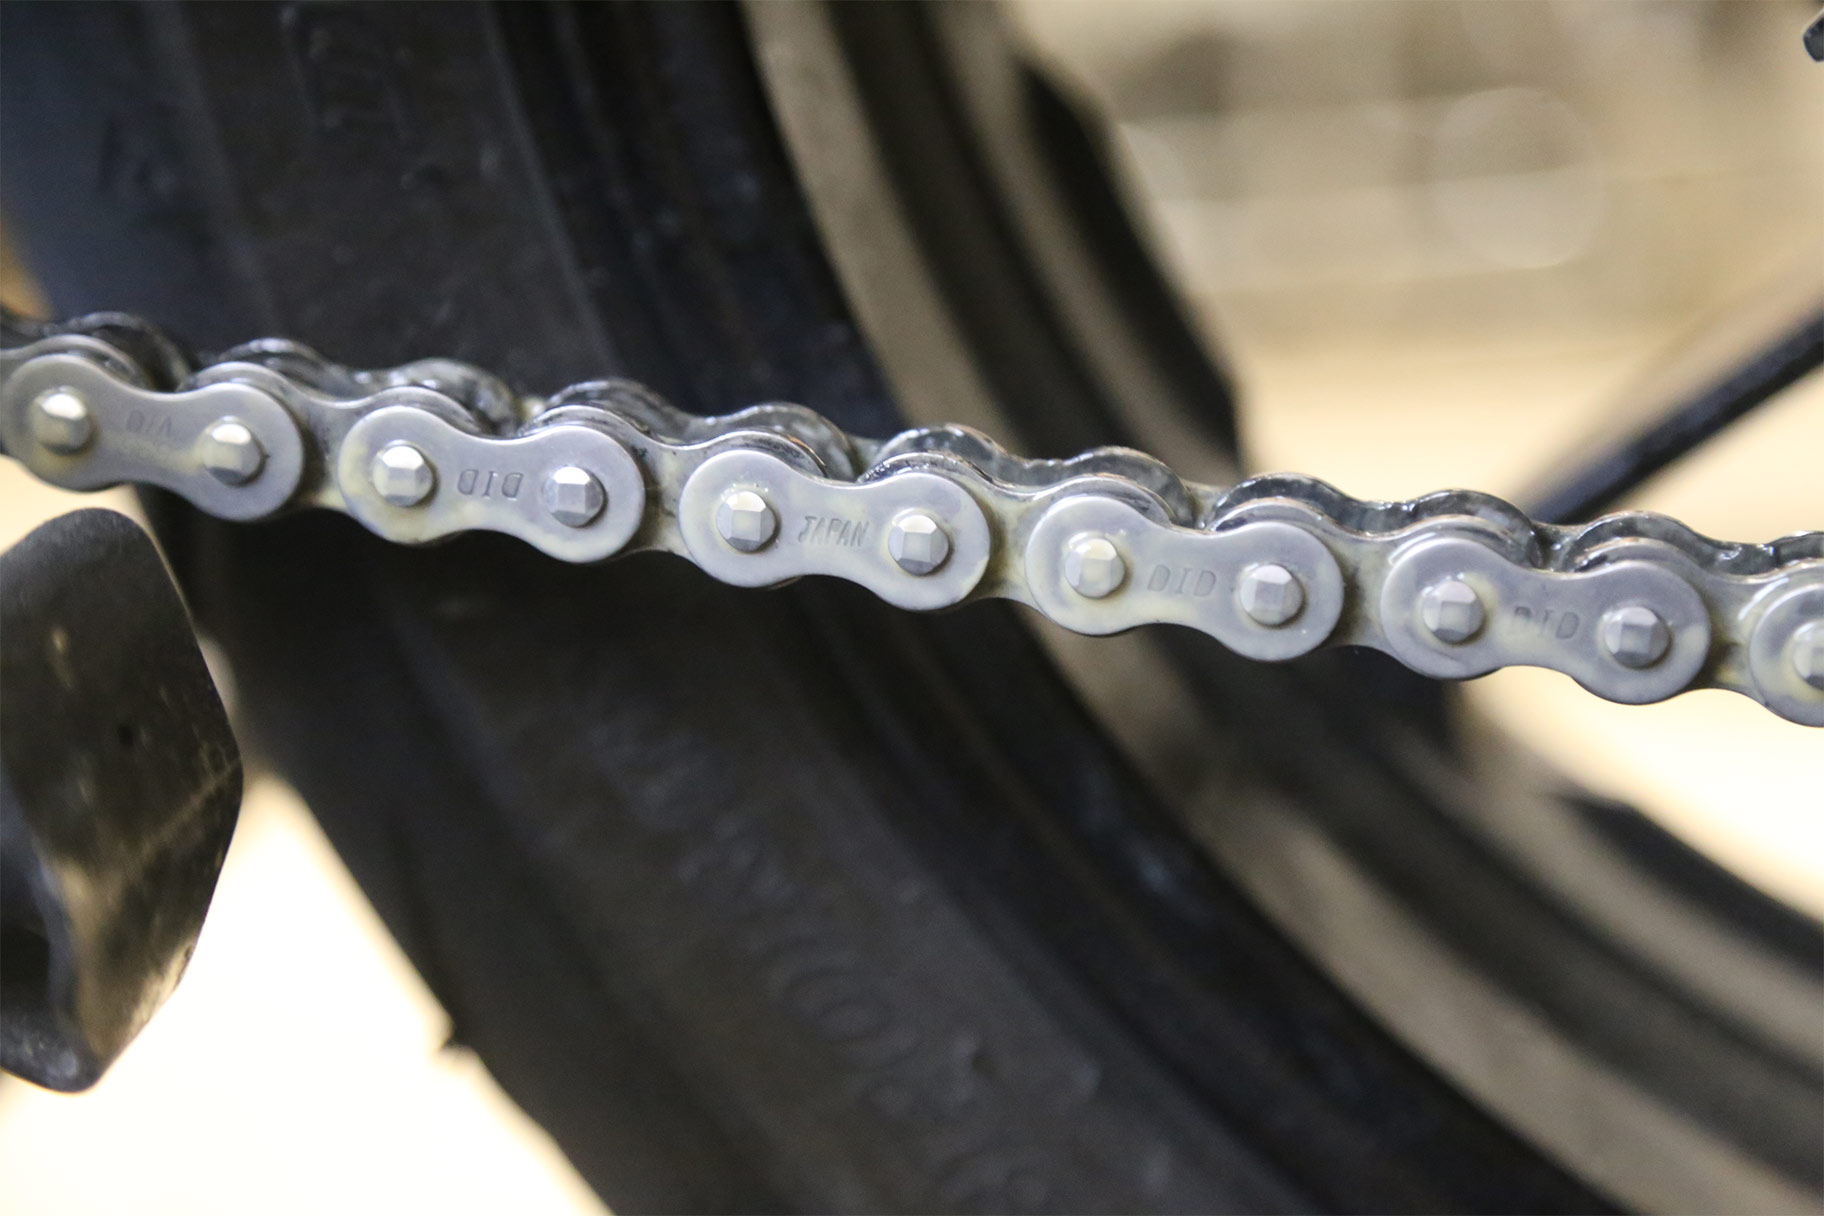
- Chain tensioning tool to, of course, tension your chain!
- Chain lube & chain cleaner – while this isn’t 100% necessary, if you’re working on your chain, you might as well give it a proper clean and coating of lubricant; two birds with one stone!
- Laser alignment tool – it’s super important to ensure that your wheel alignment is spot on when adjusting your chain, otherwise you might find yourself making mistakes and ending up with a chain that’s either too tight or too loose.
- A bike stand is necessary so that you can freely rotate the wheels while working on your bike.
Checking & Adjusting Your Bike’s Chain
Despite this being a relatively basic maintenance job, you might not get it 100% right on the first go; don’t be discouraged! Take your time, adjust your chain, check to see if it’s okay and revisit it if you need to.
Setup & Things to Look Out For
You’ll want a nice, flat surface to pop your bike on (the last thing you need is adjustments being incorrect because your suspension’s off).
This is a good opportunity for a little general motorcycle maintenance. Get your bike up on your stand and give everything a once-over. At this stage, we recommend giving your bike’s chain a good clean & applying a fresh coat of lubricant before getting started.
Now, you’ll need to check just how loose your chain is. In some (quite rare) occasions, you might find that your chain is too tight, which can also cause issues. Your bike’s recommended drive-chain slack can usually be found on a sticker on your swingarm, but if not, you’ll definitely find it in your bike’s manual, so check there if you can’t find it.
The easiest way to check your tension is to use a Chain Monkey Tensioning Tool, but if you don’t have one, you’ll have to do a little maths. Grab yourself a tape measure and find a central point between the front and rear sprockets. Pull your chain down and measure the distance between the centre of the chain and the sprocket. Lift it to its highest point and measure the distance again. Find the difference between these two measurements and – voilà! You’ve got your chain’s tension. Remember: if you’ve got your bike raised up, you’ll want to leave a little more slack than is recommended, as when the bike’s weight is reintroduced it’ll tighten off.
Adjusting Your Chain
Using a Chain Monkey, adjust to the correct setting for your motorcycle, affix the Chain Monkey to the chain by tightening until the circular stop touches the orange base, quickly tighten the chain and remove your Chain Monkey – that’s it! If you’re a visual learner, check out this video to see just how easy using the Chain Monkey is.
If you don’t have a Chain Monkey, the process is more complicated. You’ll want to loosen your axle nuts and lock nuts on both sides of your wheel. You can then start to turn your adjusters clockwise. We recommend turning them in quarter turn increments to make sure you don’t go too far. This process moves the wheel up/down on the swingarm, so you want to move them gradually and equally on both sides to keep everything aligned. If you ever think your wheels are off-centre, grab yourself a Laser Monkey Alignment Tool and double check everything’s lined up.
Once you’ve got your chain as tight as you want it, give your wheel a spin to make sure it’s freely turning. There should be some resistance, but (if adjusted correctly) it should spin freely for a few revolutions. At this point, tighten everything off that you’ve loosened – this is where the torque wrench comes in handy. You’ll want to make sure your axle nuts are nice and tight (you don’t want your wheel flying off at high speed!).
Chain Maintenance Products & Tools with Tru-Tension
Endorsed by Dragons’ Den investor Touker Suleyman, Tru-Tension specialise in designing and manufacturing industry-leading motorcycle maintenance products. From chain tensioning and chain alignment tools to lubricants, waxes and cleaning gels, we offer a comprehensive range of maintenance solutions at affordable prices.
Whether you are an inexperienced rider, a daily commuter or a competitive racer, our products are right for all levels of enthusiast.