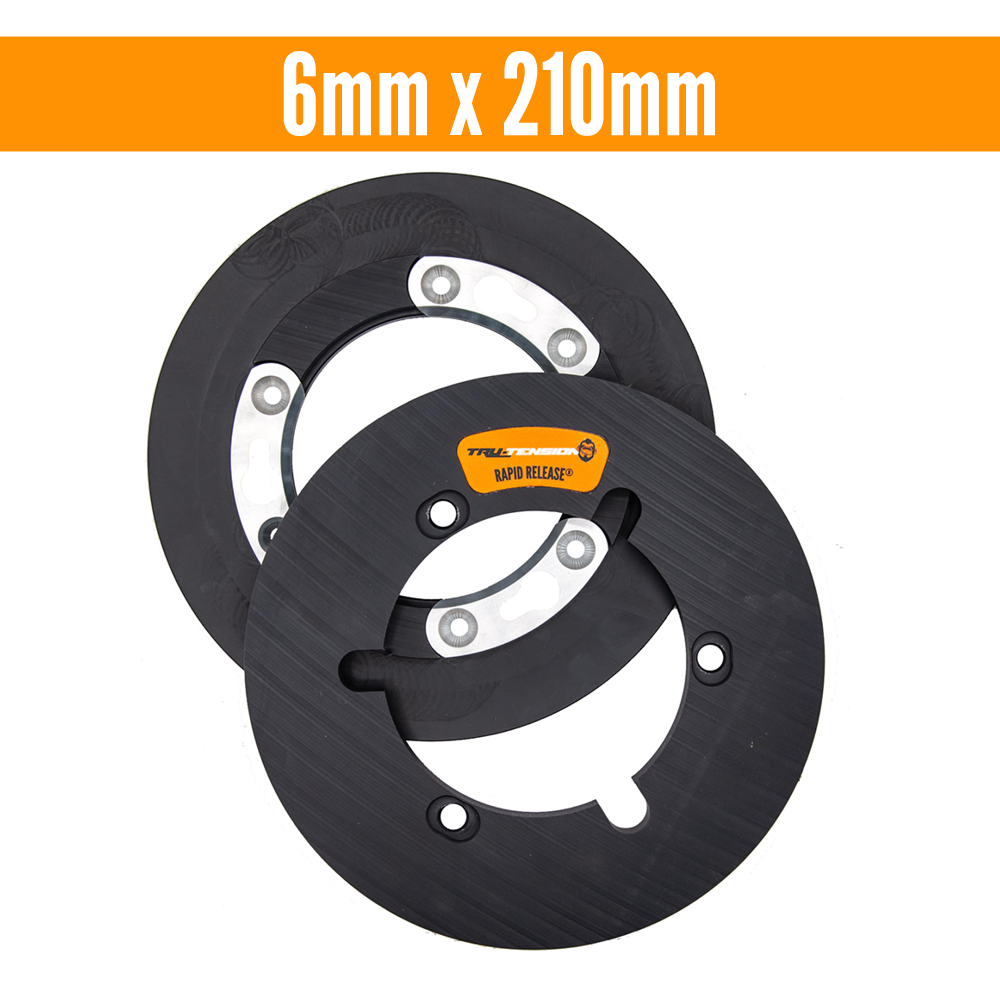
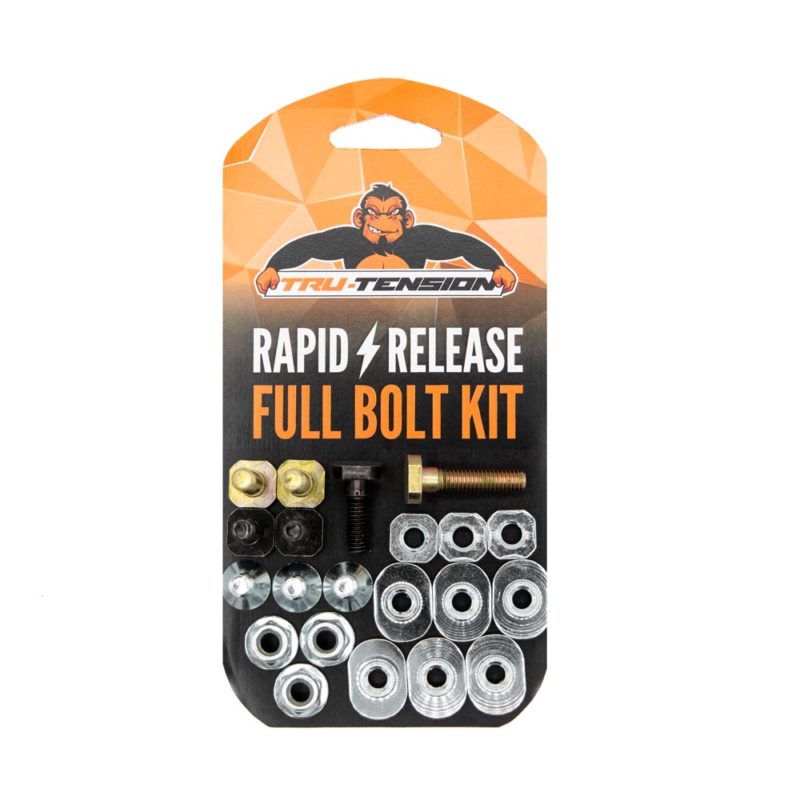
How to fit your Rapid Release Sprocket Kit
Step 1) Fully clean the sprocket carrier you intend to use. We advise using a new carrier if possible.
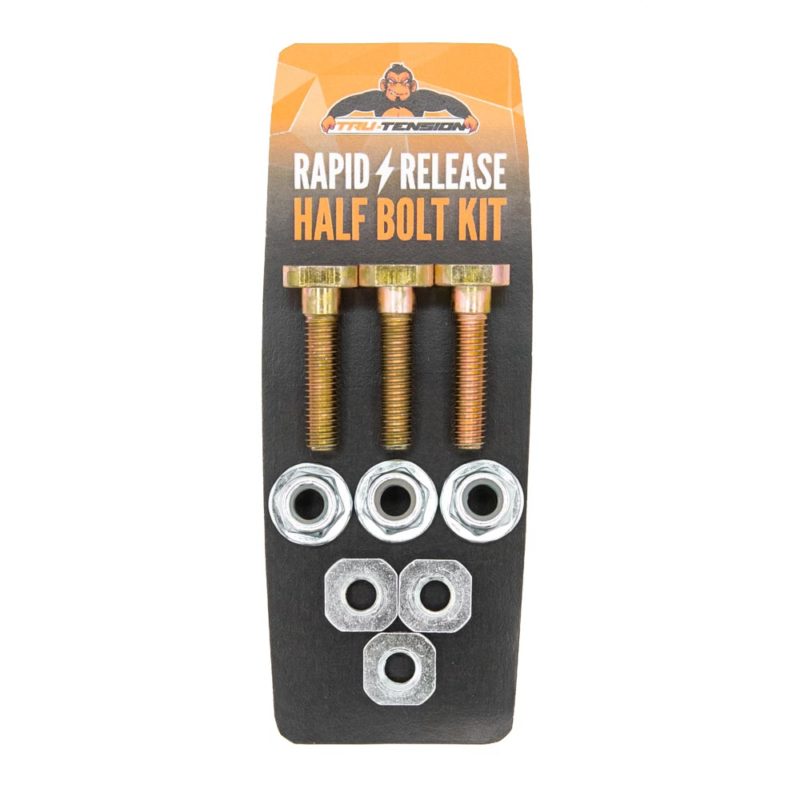
Step 2) Push the gold bolts through three alternating holes in the sprocket carrier, ensure they will be facing towards the outside of the kart. Using the square nuts, tighten until bolt and nut heads sit level on the carrier mating surfaces.
Step 3) Push the black bolts through the three remaining alternating bolt holes in the carrier.
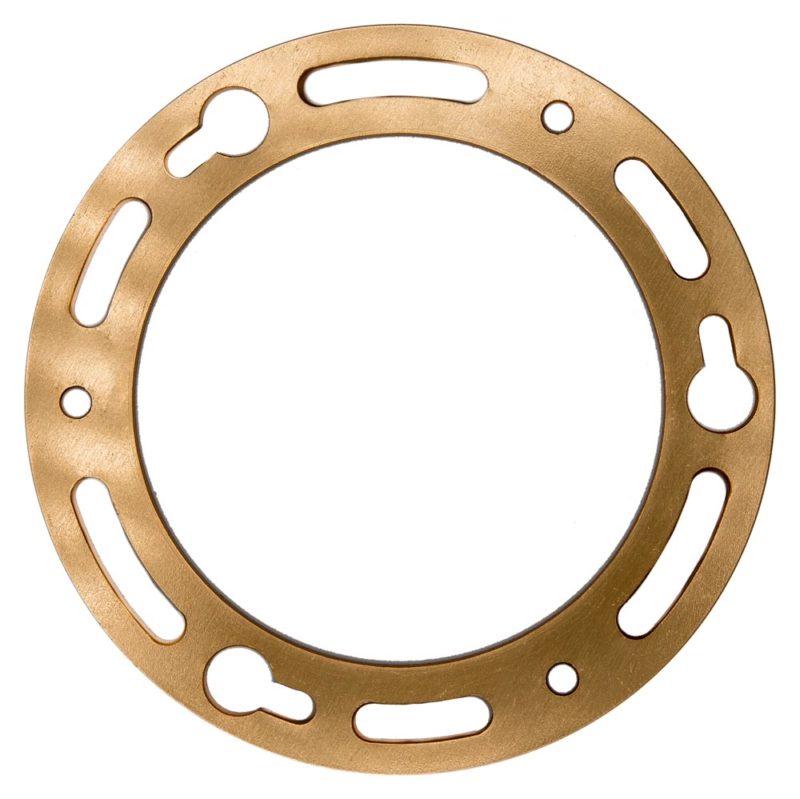
Step 4) Marry up the rear sprocket protector and thread on the three top hats. Ensure the top hats sit within the grooves provided, tighten using the head of the bolt until the bolt head sits level with carrier mating surface.
Note – Black bolts are designed to be used on varying sizes of sprocket carriers. If your bolts extrude the top hats and you would like them to sit flush manually trim to achieve flush fit.
Step 5) Put the Six countersunk bolts through the countersunk bored holes in the aluminium split rings. Marry up the front protector and thread the top hats into place. Tighten bolts.
Step 6) Thread the three remaining nylock nuts onto the end of the gold bolts.
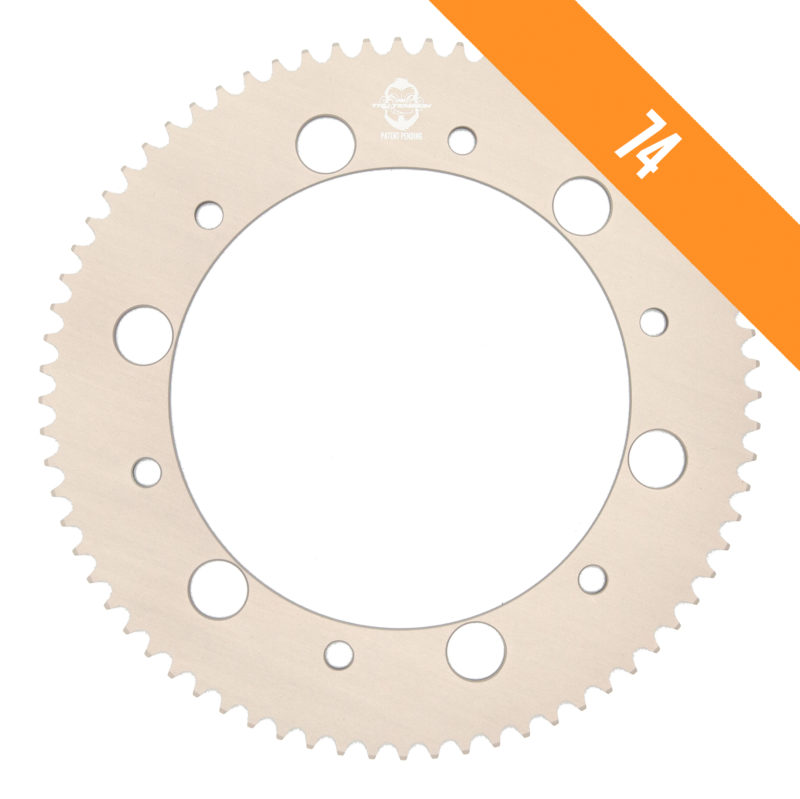
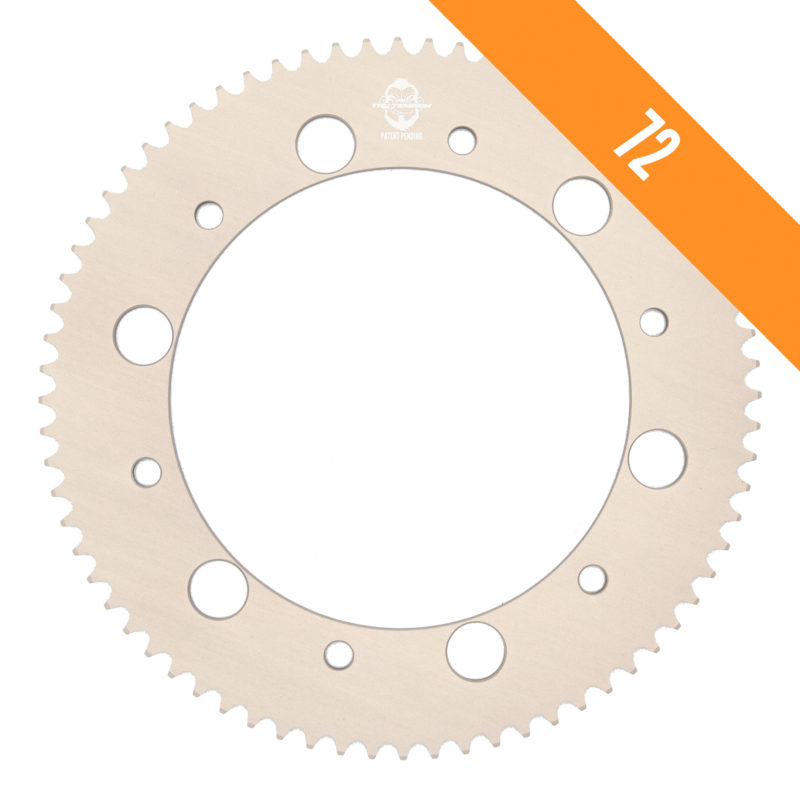
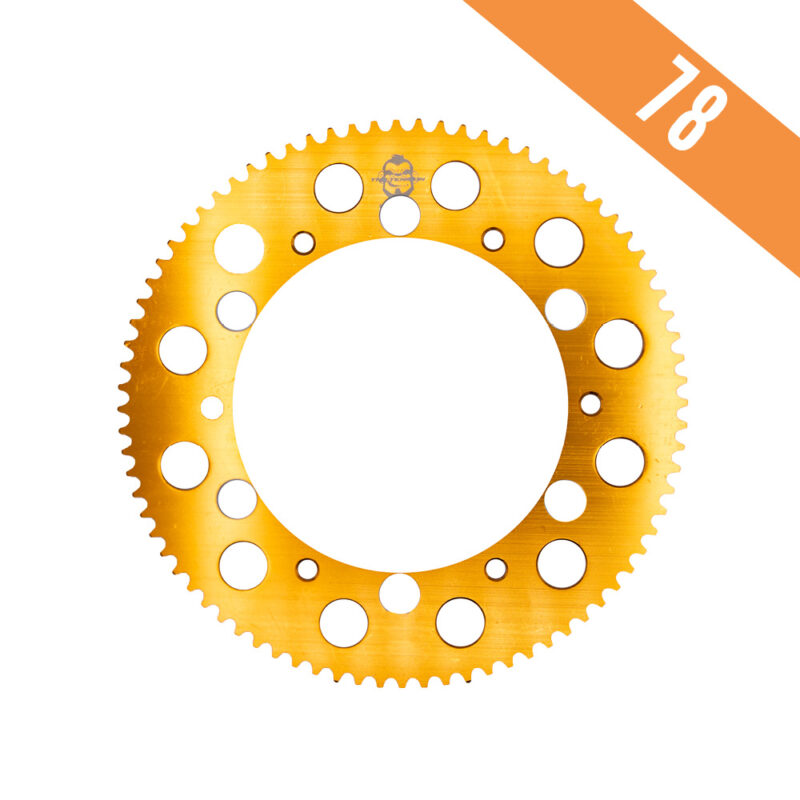
Step 7) Position Rapid Release sprocket on the assembled setup.
Step 8) Push assembled front protector into place and rotate clockwise to lock. Tighten nylock nuts to finish.
Notes: Some new and used carriers may have distortion which can make the system tight to lock or unlock during initial assembly. If this is the case, some slight manipulation of the bolt angles may be required for a smooth function. Once positioned correctly it is unlikely to need adjustments in the future.
Important: Some new and used carriers may have distortion which can make the system tight to lock or unlock during initial assembly. If this is the case, some slight manipulation of the bolt angles may be required for a smooth function. Once positioned correctly it is unlikely to need adjustments in the future. For permanent results use threadlock.